




















Articles, Graphic Design, Photoshop

Photoshop Made Easy: How to Use the Magnetic Lasso Tool

Photoshop is a great tool for editing pictures. It has lots of features to help you change your images. One of these features is the Magnetic Lasso Tool. It's handy for selecting things in your pictures. In this guide, we'll show you how to use the Magnetic Lasso Tool step by step.

Step 1: Open Your Picture

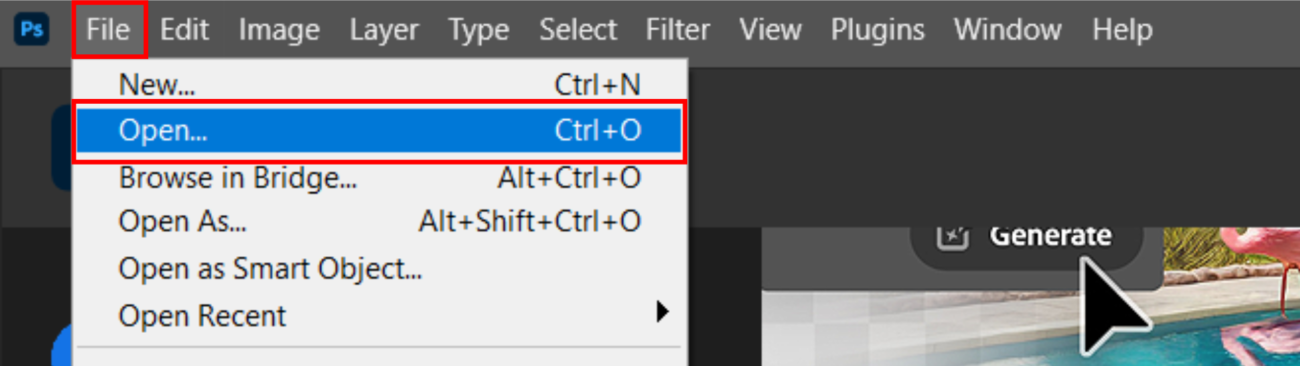
First, open the picture you want to edit in Photoshop. Go to File > Open, then choose your picture from your computer.

Step 2: Pick the Magnetic Lasso Tool

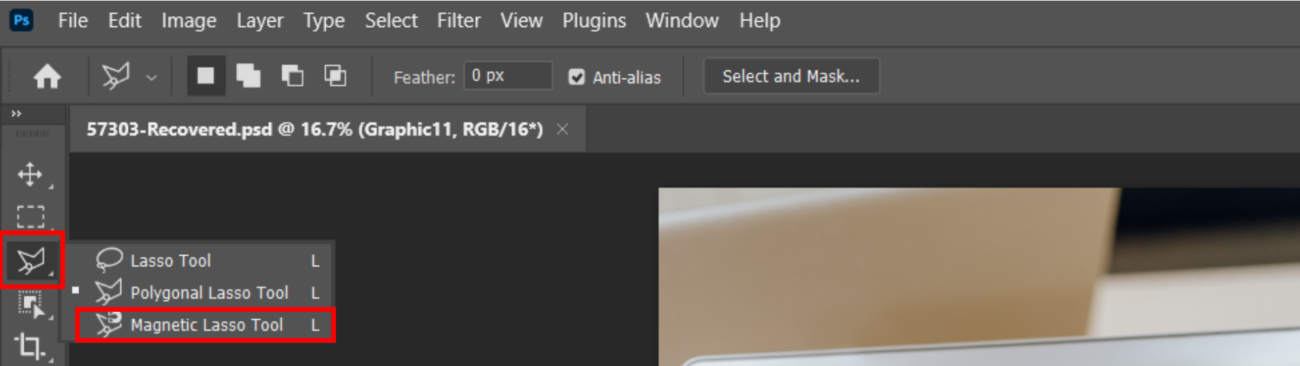
On the left side of your screen, you'll see a toolbar. Find the Magnetic Lasso Tool—it looks like a lasso with a little magnet. Click on it to select it.

Step 3: Set Up the Tool

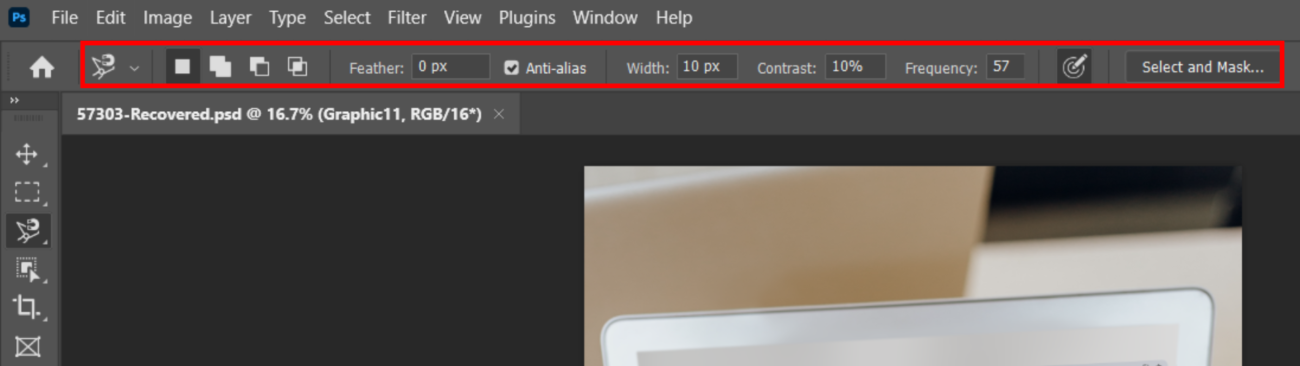
Before you start selecting, you can change some settings to make the tool work better. You can change how wide the selection line is and how often it makes points. You'll see these options at the top of your screen. Play around with them to see what works best for your picture.

Step 4: Start Selecting

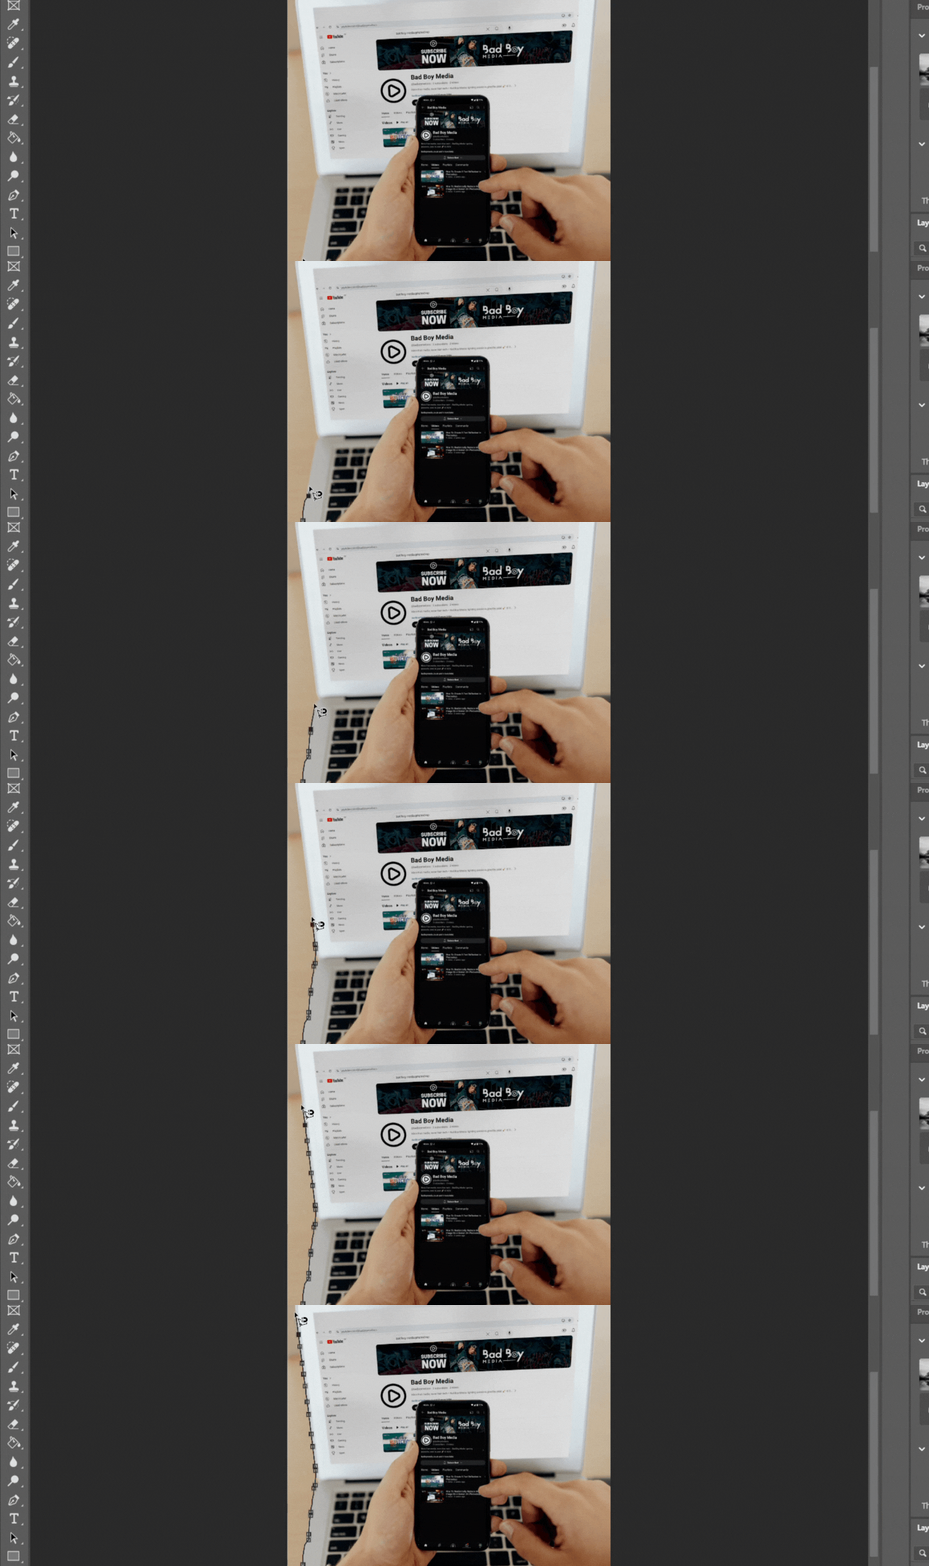
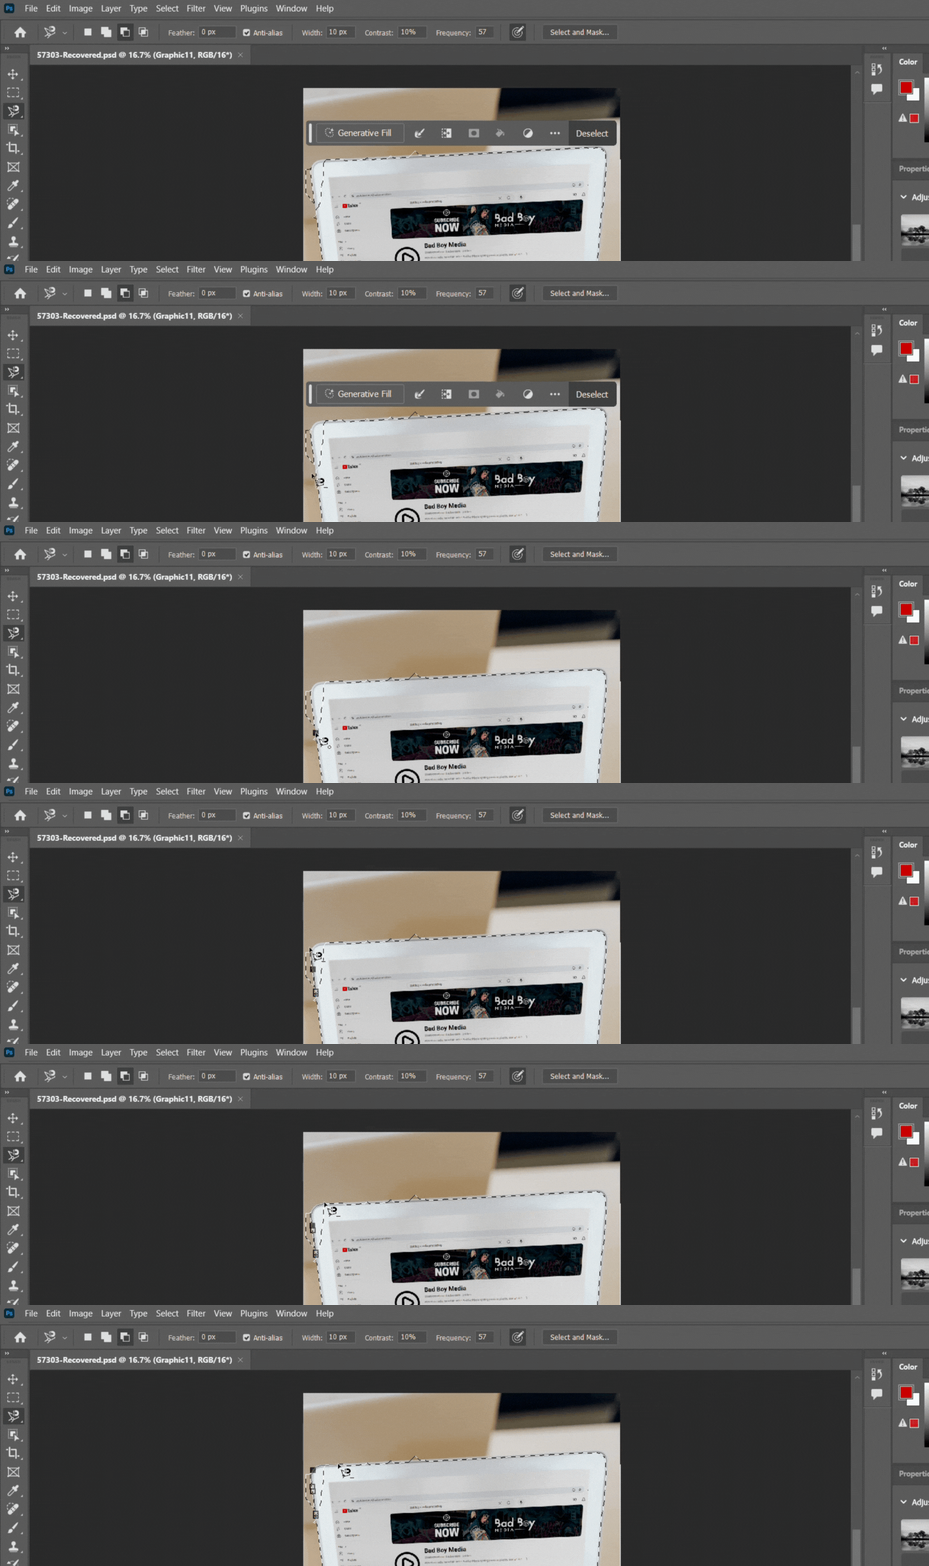
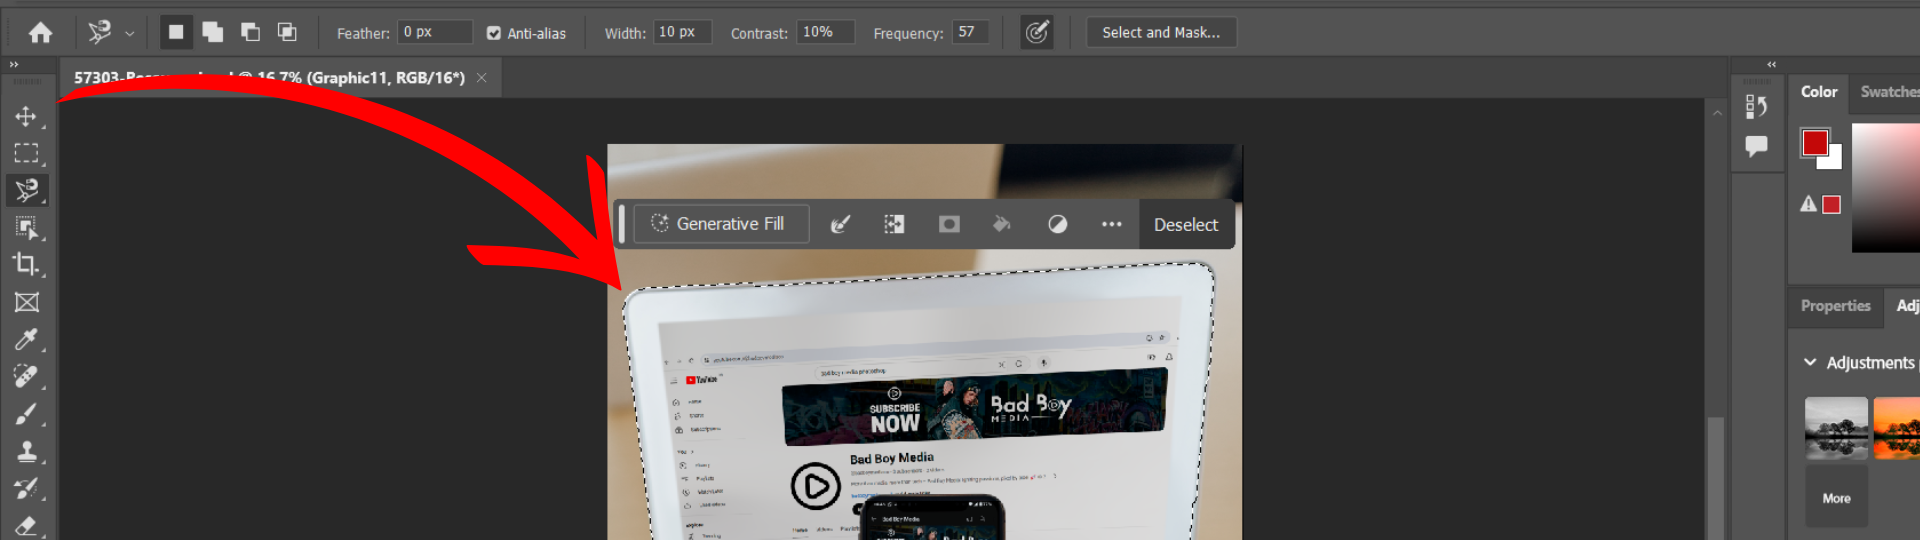
Click once on the edge of the thing you want to select. Then, slowly move your mouse along the edge. The Magnetic Lasso Tool will stick to the edges, making a selection for you. Keep going around the thing you want to select until you get back to where you started. Click again to finish.

Step 5: Make It Perfect

Sometimes, your selection might not be perfect. That's okay! You can fix it easily. Hold down the Alt key (or Option key on Mac), and click on any part that's not right. This will add a point, and you can move it to fix the selection.

Step 6: Finish Your Selection

Once your selection looks good, you need to close it. Go back to where you started and click again. This will close the selection, and you'll see a line around the thing you selected.

Step 7: Edit Your Selection

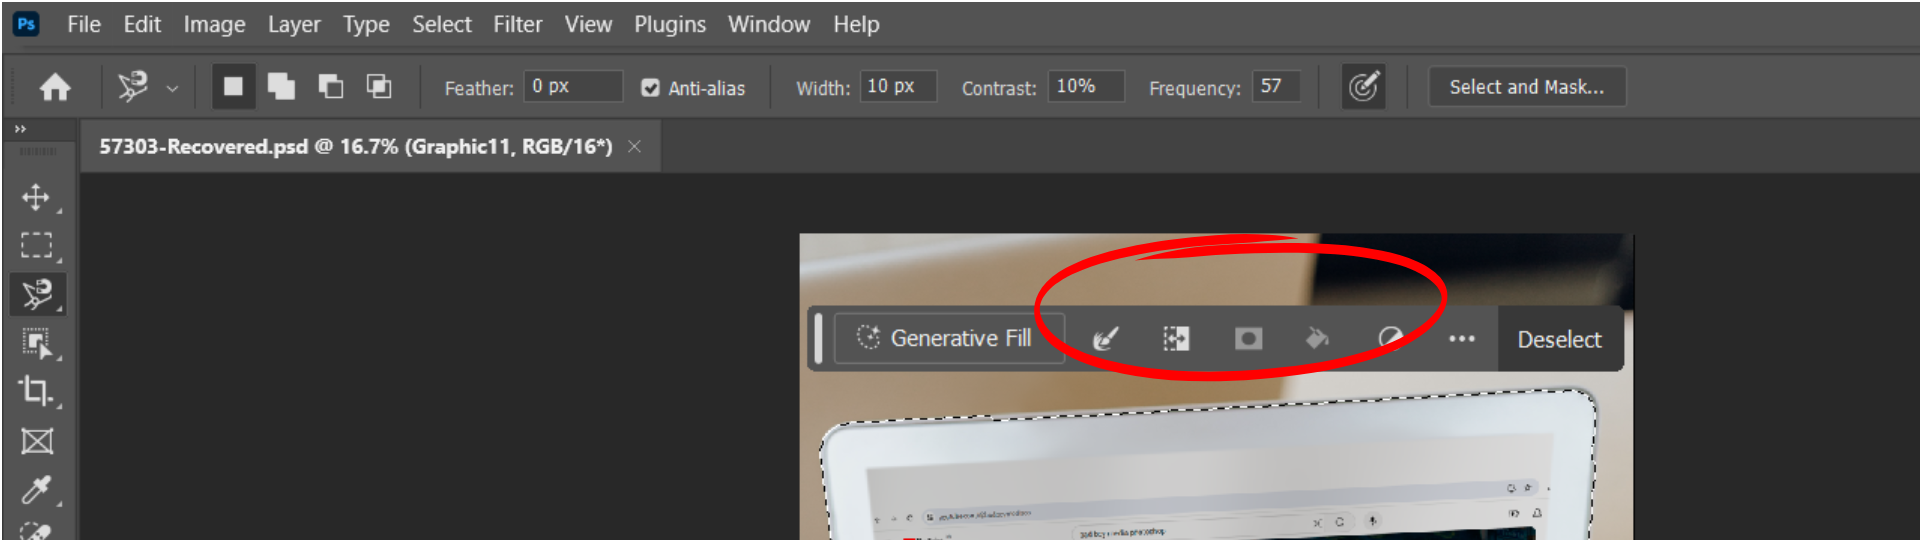
Now that you've selected something, you can do lots of things with it. You can change the colours, make it bigger or smaller, or do anything else you want. Just remember, only the part you selected will change.

Step 8: Take Away the Selection

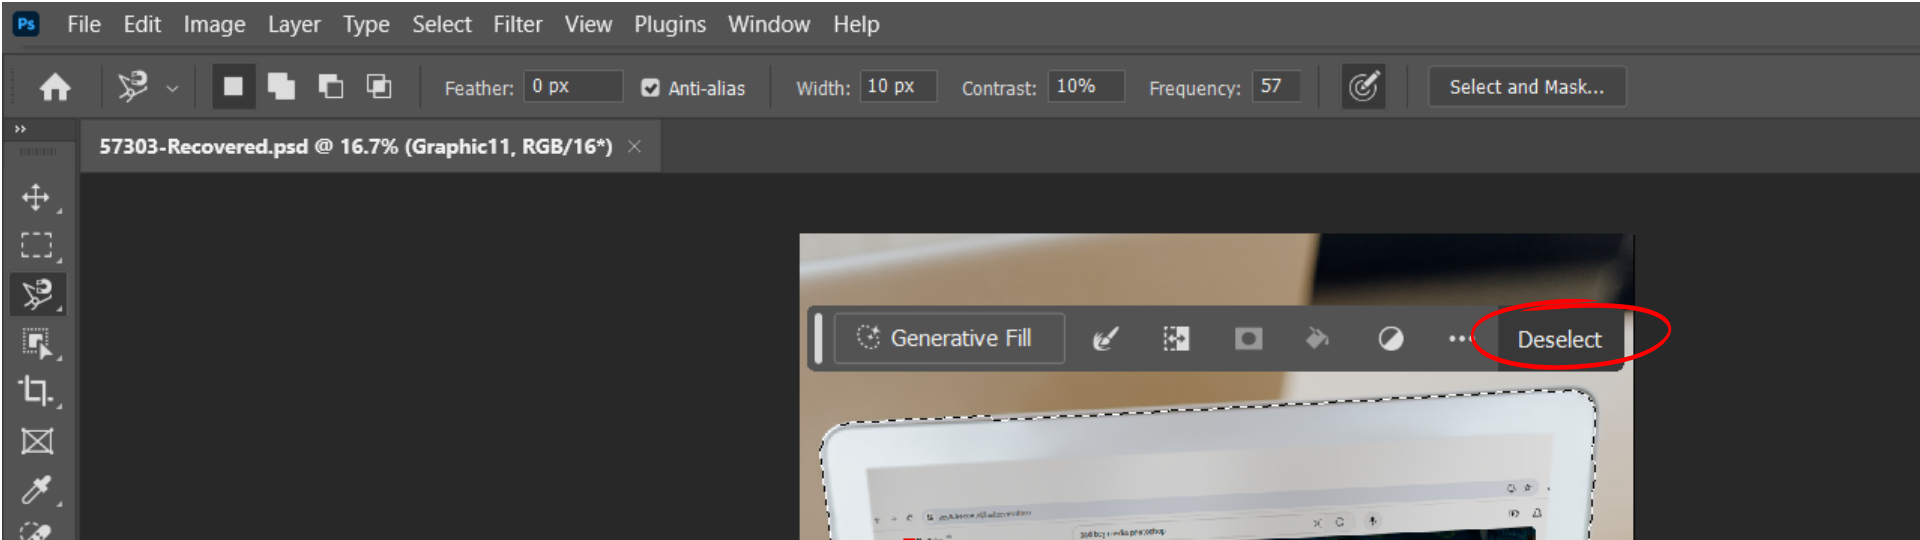
When you're done editing your selection, you can remove the line around it. Go to Select > Deselect, or press Ctrl+D (or Cmd+D on Mac). This will take away the selection so you can see your whole picture again.

The Magnetic Lasso Tool is a helpful tool in Photoshop. It lets you select things easily so you can change them however you want. By following these steps, you can learn to use the Magnetic Lasso Tool and make your pictures look even better. Practice using it on different pictures, and soon you'll be a pro at editing with Photoshop!

Leave a Reply

Your email address will not be published. Required fields are marked *