In this Photoshop tutorial, Ellie talks you through how to replace an image on any screen, PC, Laptop, Phone, Ipad etc. And how to make it look realistic by adding a cool reflection.
If you’d prefer written instructions, then just keep reading.
1. Open the Images of your Screen and Photo you want to Replace
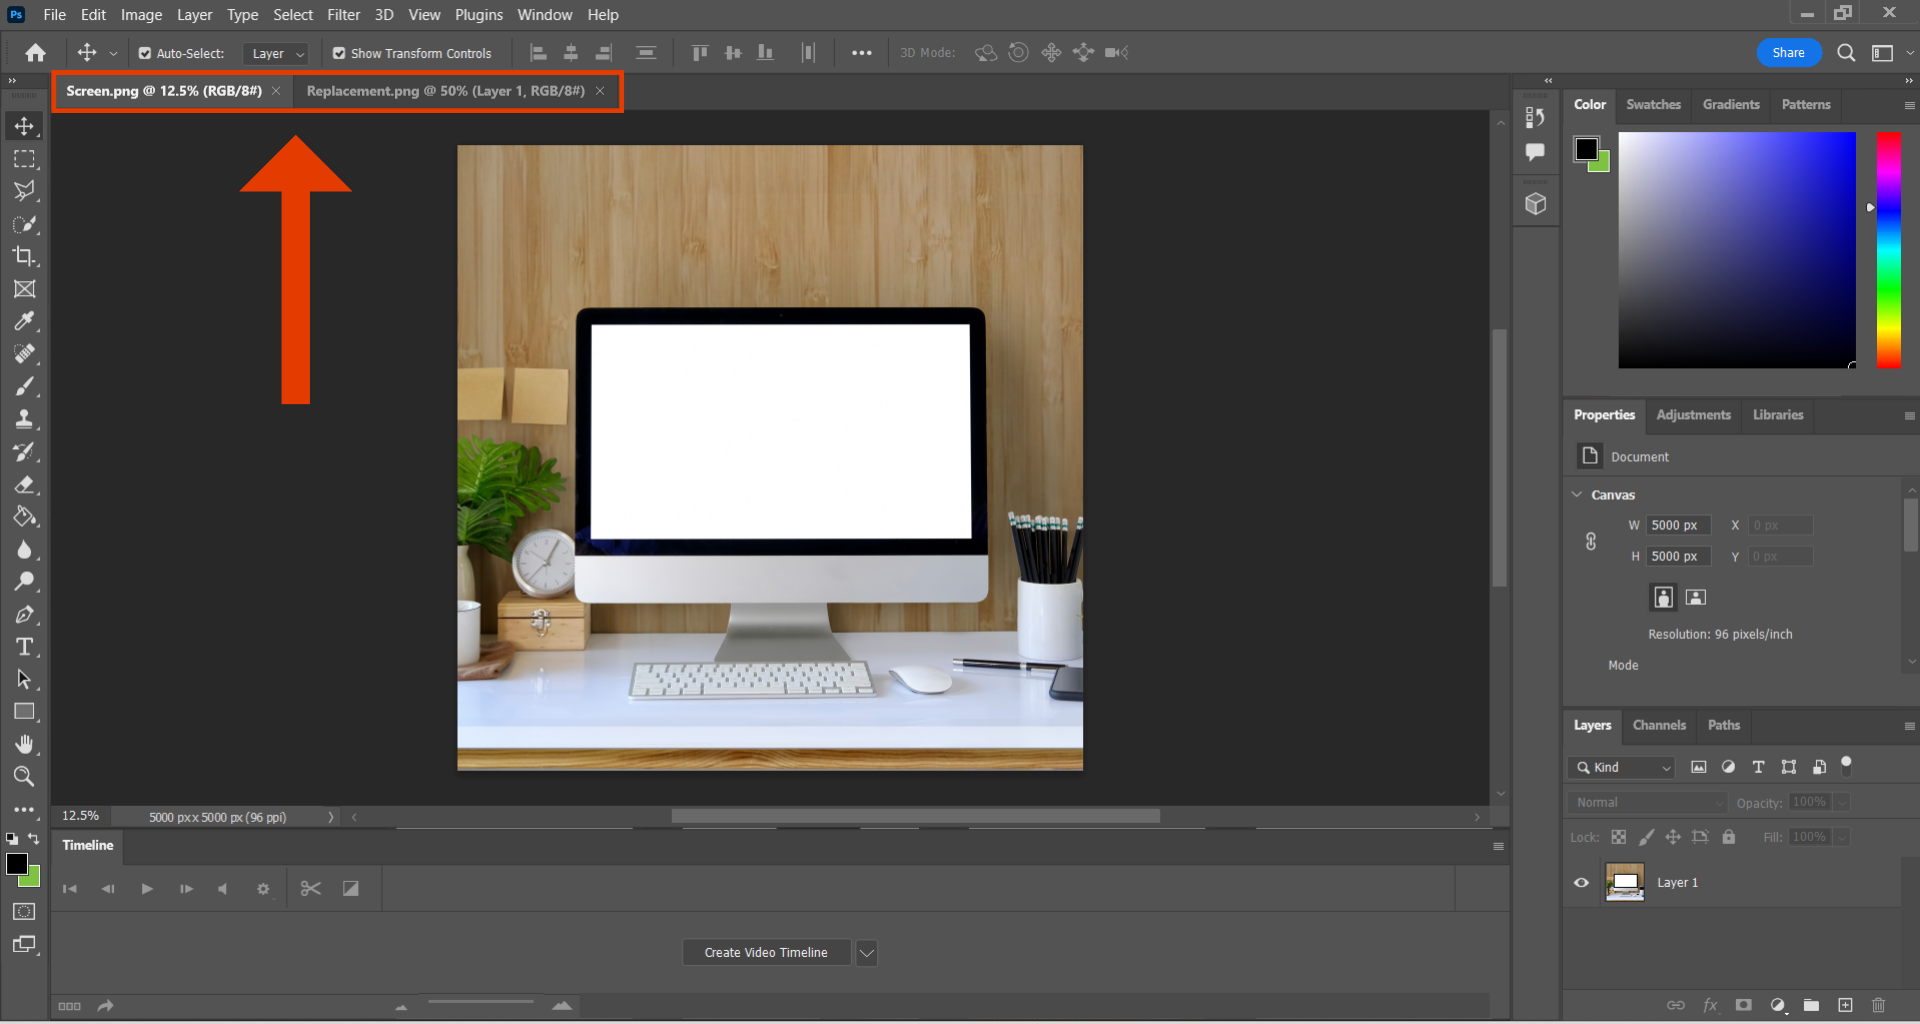
Begin by opening the image of the screen that you want to use in one tab, then open the other photo you want to place into the screen in another tab. You are now ready to get started with your design.
2. Adding your Image on top of the Screen Layer
Head over to your image you are intending to place into the screen, click on it, and press ‘Ctrl C’ to copy the photo. Then go back to your image of the screen and press ‘Ctrl V’ to paste your photo. This will create a new layer on the document which will allow you to edit your images.
3. Positioning and Resizing the Images
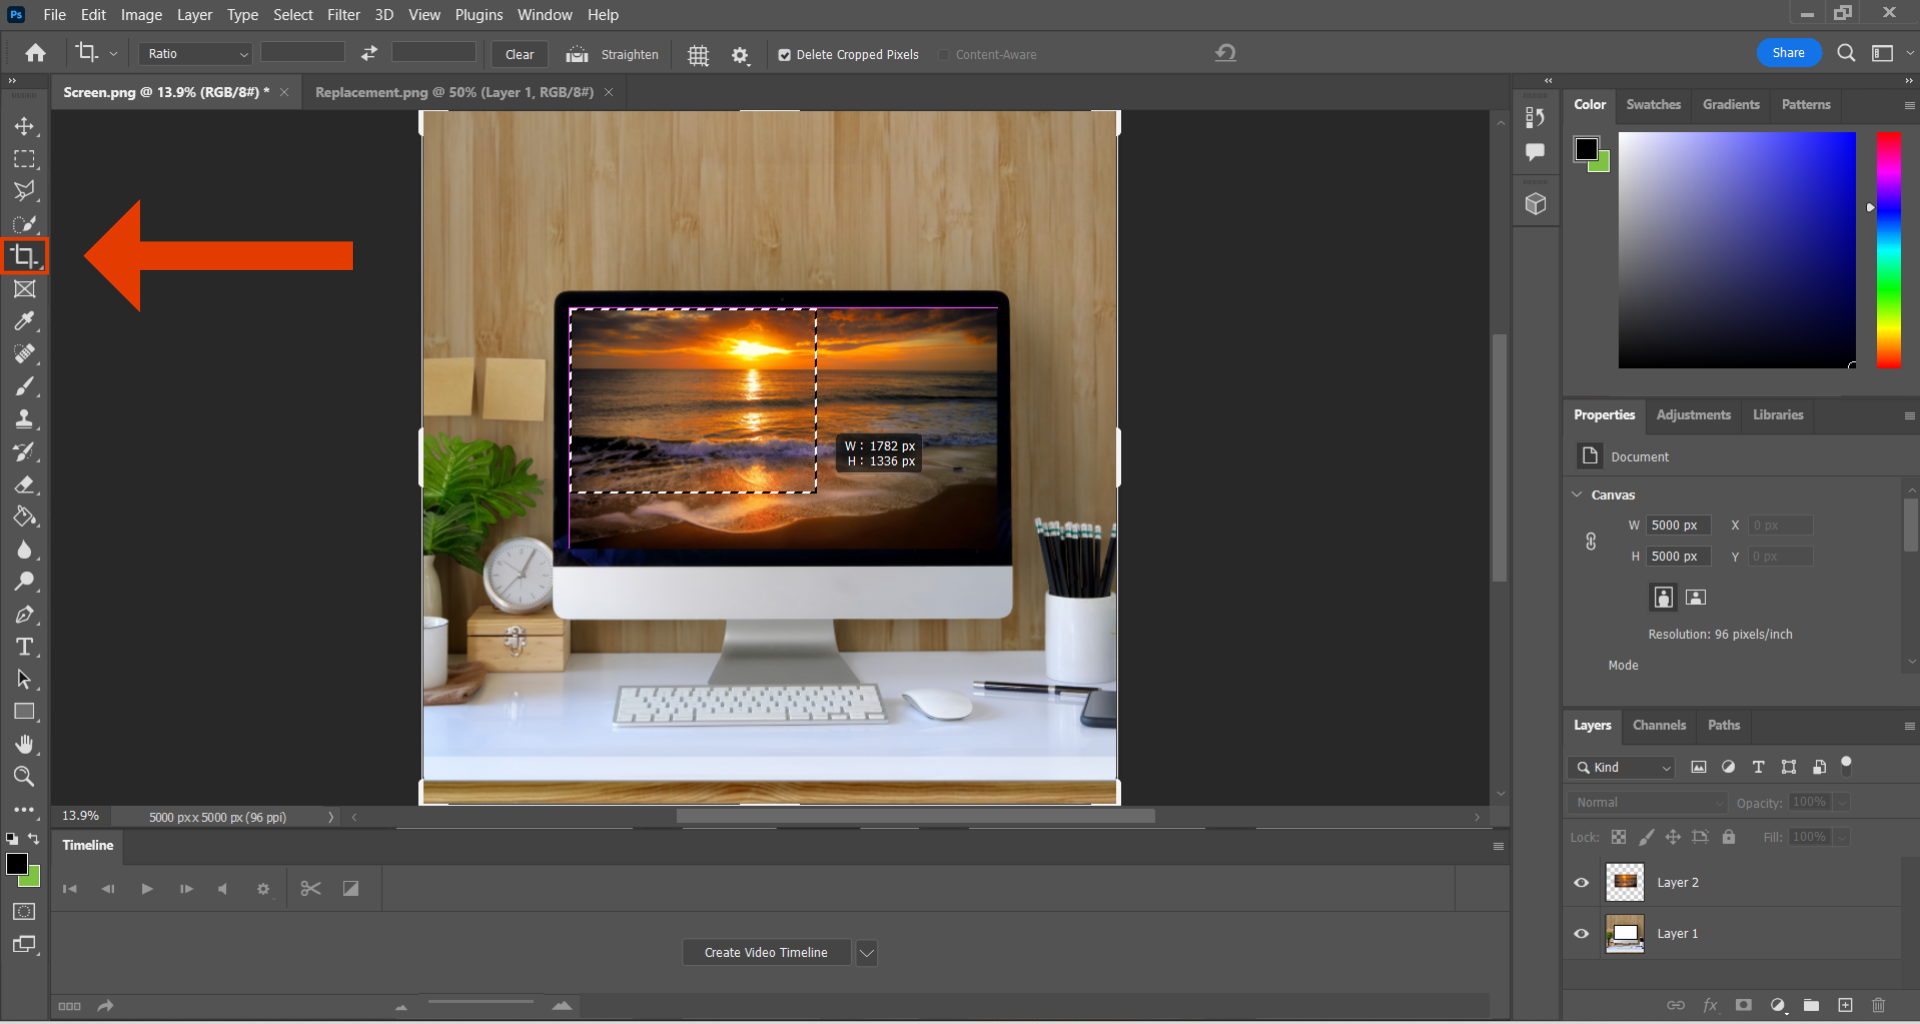
Next, click on the image you have just pasted on top of the screen and drag it to fit the size of the device you are overlaying it on. You may need to crop your image to match the dimensions of the screen and this can be done using the ‘Crop’ tool on the panel to the left hand side of the screen. Try to line these images up as much as possible to give it that clean, professional look.
4. Adding a Shine/Glare on the Screen
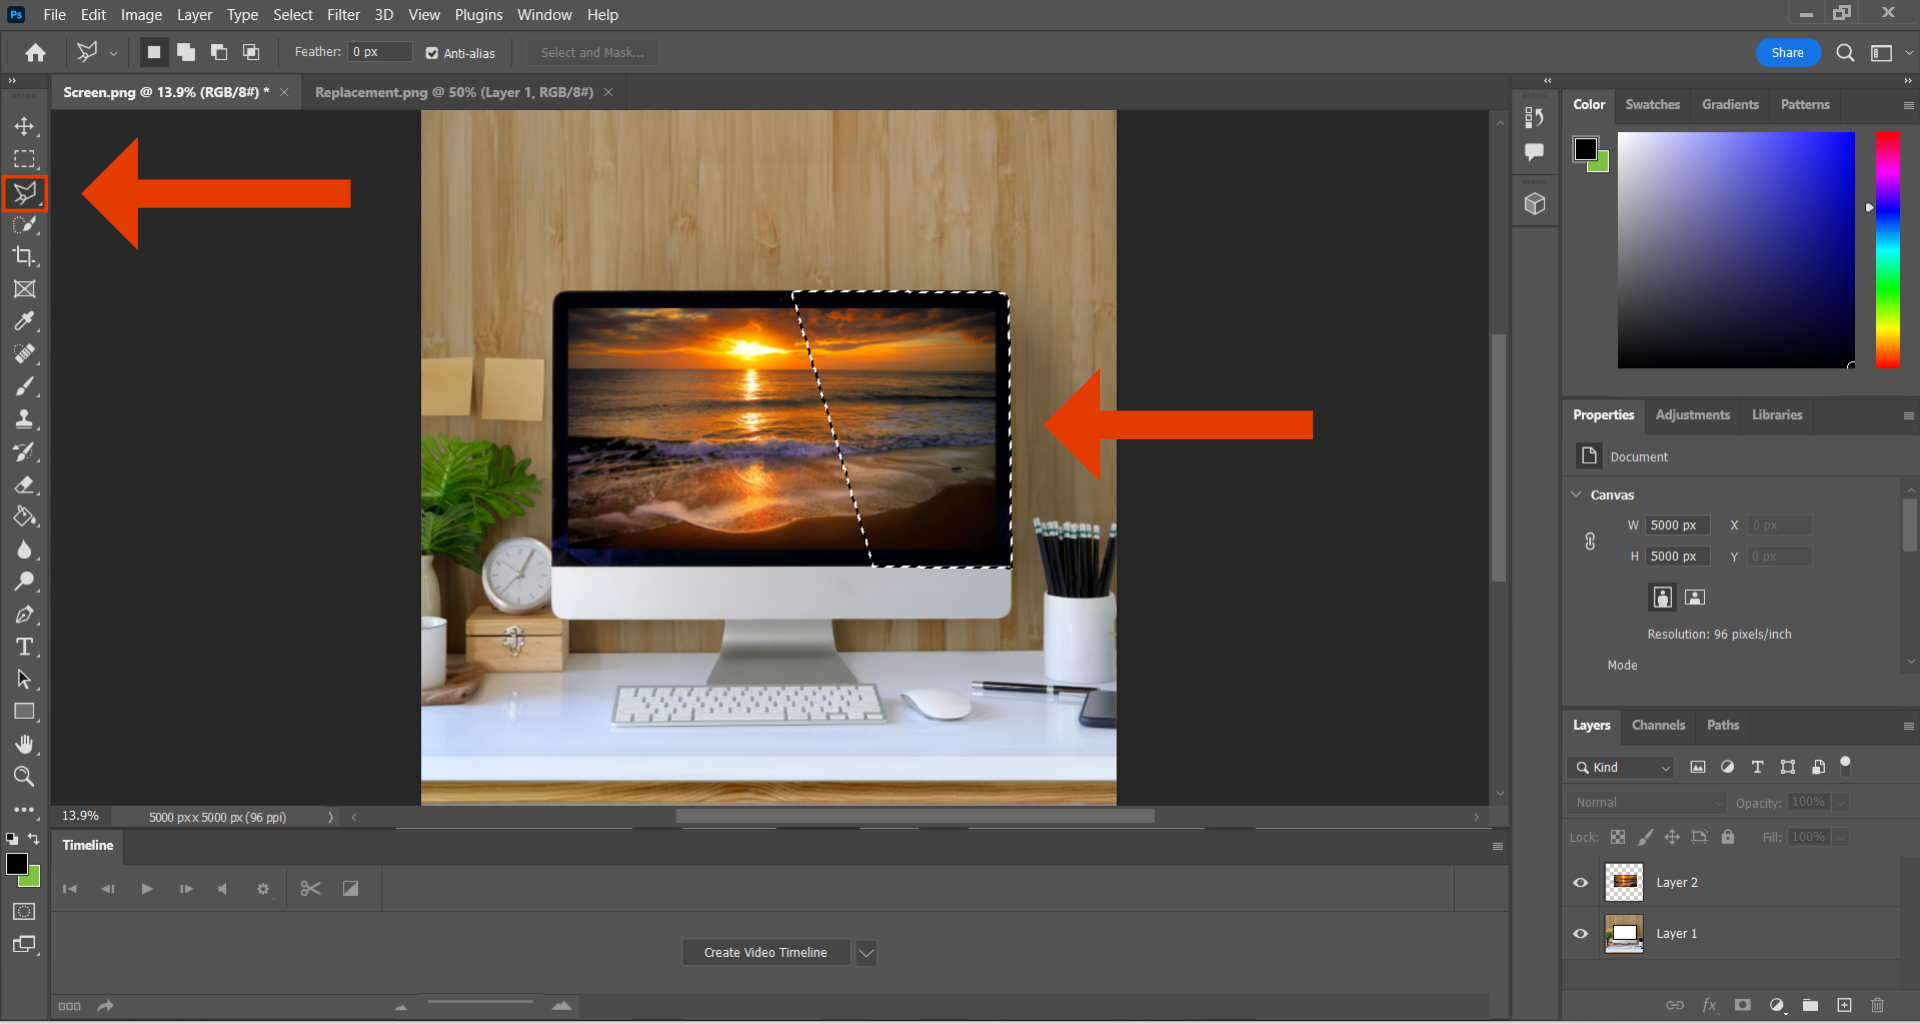
By adding a section on top of your image that looks like glare from the light in the room, it can make your design look a lot more realistic. First, add a new blank layer. Select that layer and use the ‘Polygonal Lasso’ tool to create a section around the screen that the light would be hitting. This area will then be surrounded by white dotted lines.
5. Filling in the Area
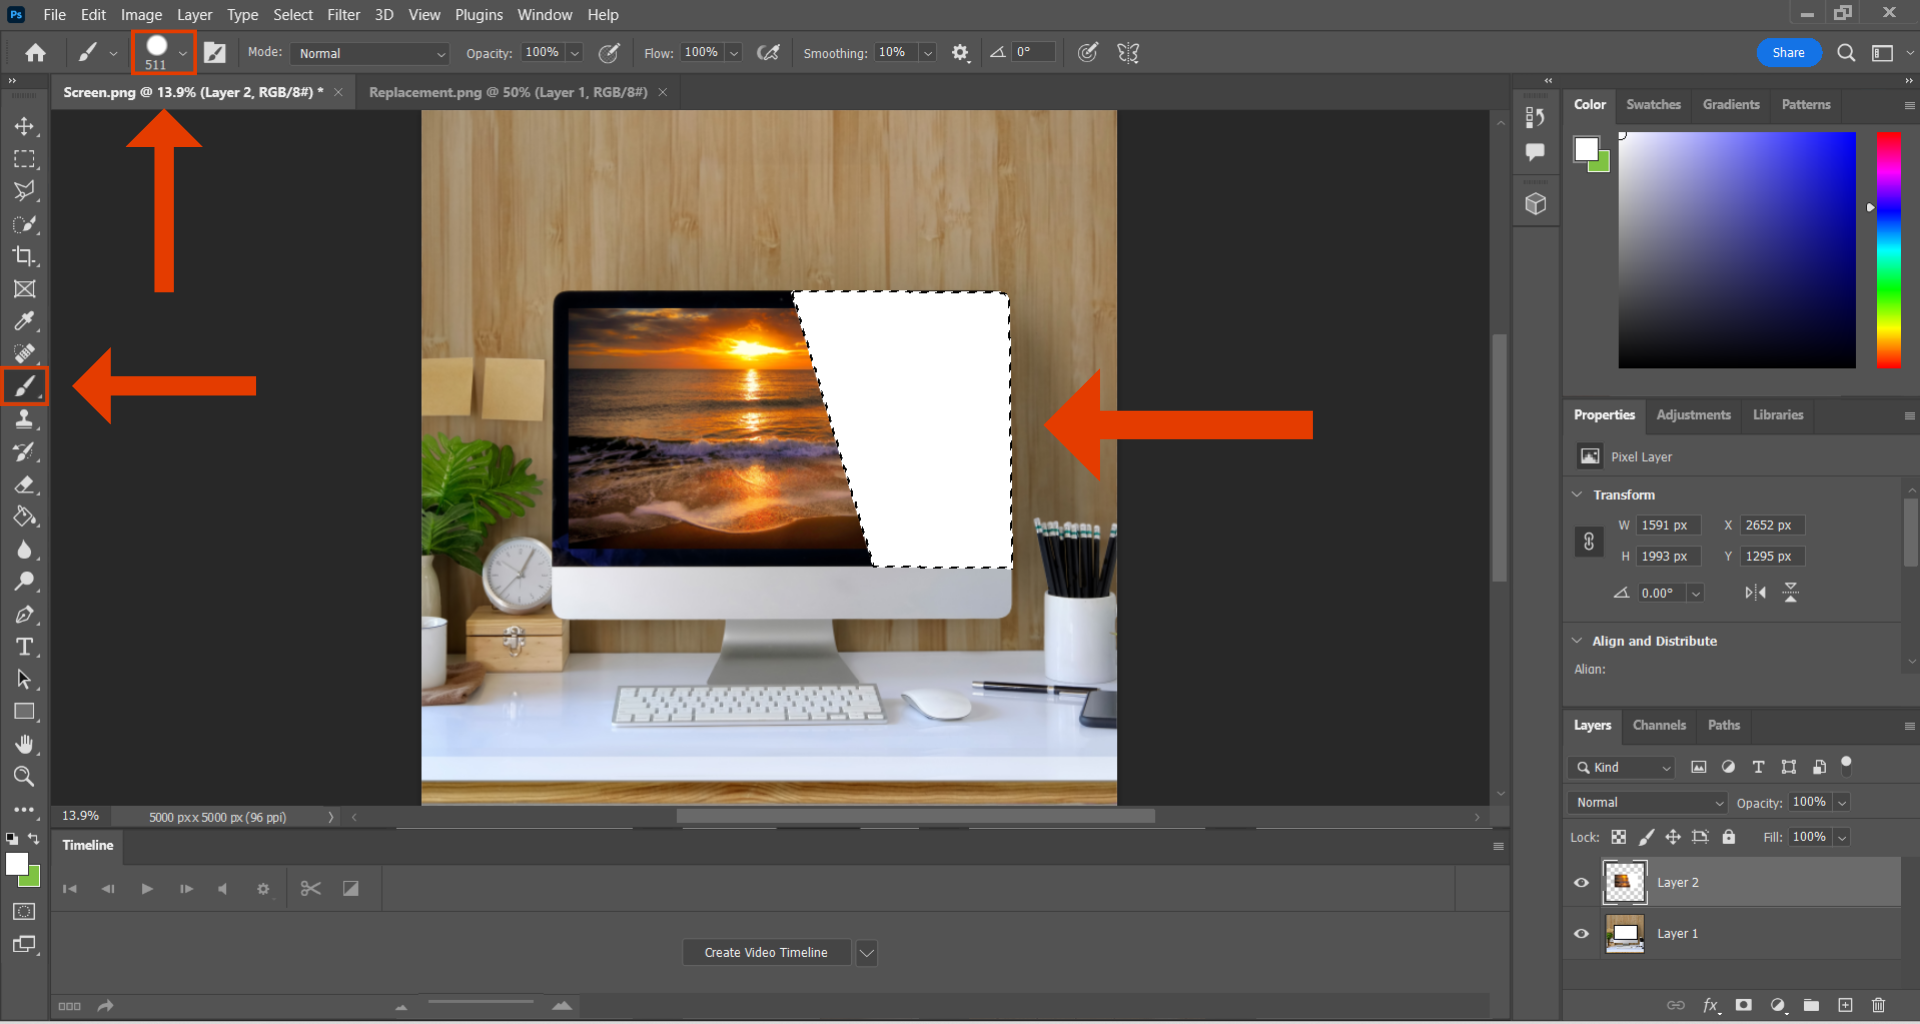
Once you have created the area on the screen that your light will hit, select the ‘Brush’ tool and adjust it to an appropriate size that will easily fill the section highlighted. Make sure the brush colour is white and fill the space within the lines to fully cover the area you have selected. Then click back on the ‘Polygonal Lasso’ tool and press anywhere within your highlighted area to deselect it.
6. Adjusting the Opacity of your Light Section
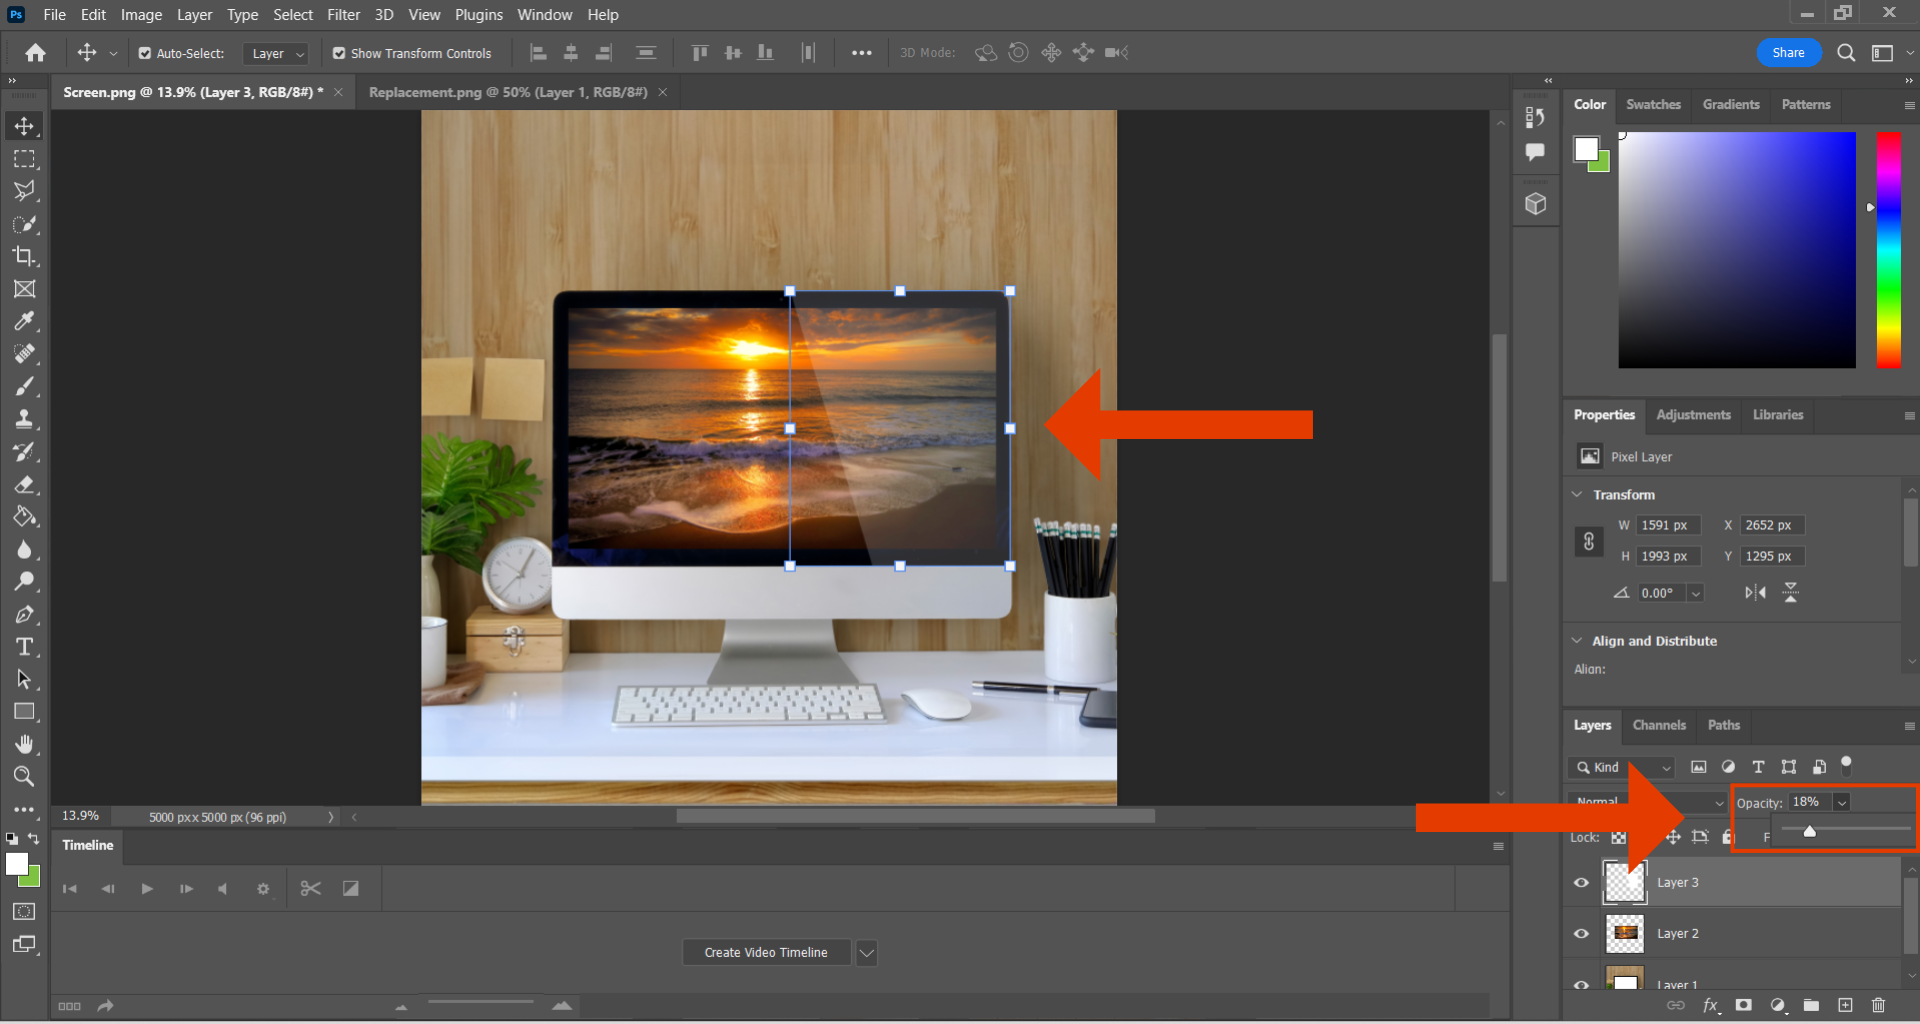
Make sure you have selected the layer we have just created and click on the ‘Opacity’ button. Then use the slider to increase/decrease the percentage of the opacity to make the white area look more subtle and realistic. I would recommend adjusting it anywhere between 10-20% to give the image the best results.
7. Finished Result
Deselect the layer by pressing anywhere on the area behind the canvas and you have got your finished image!
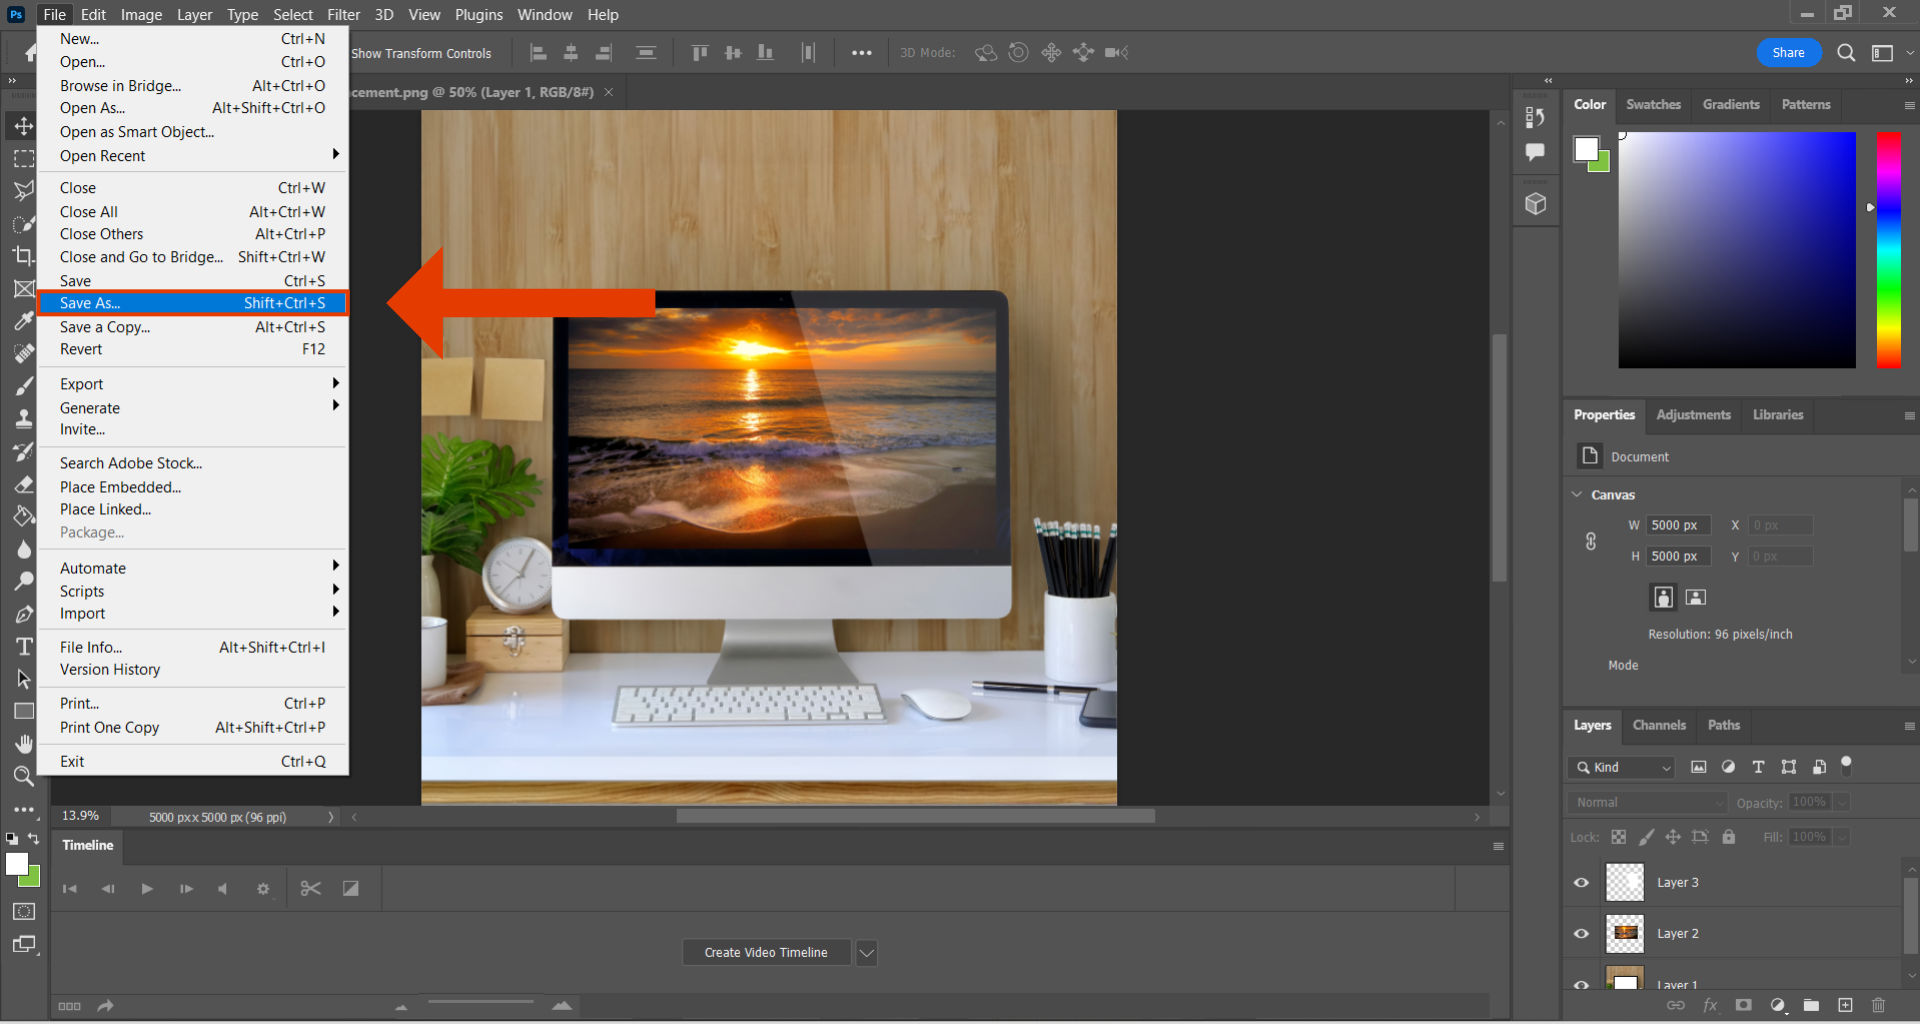
8. Saving Your Image
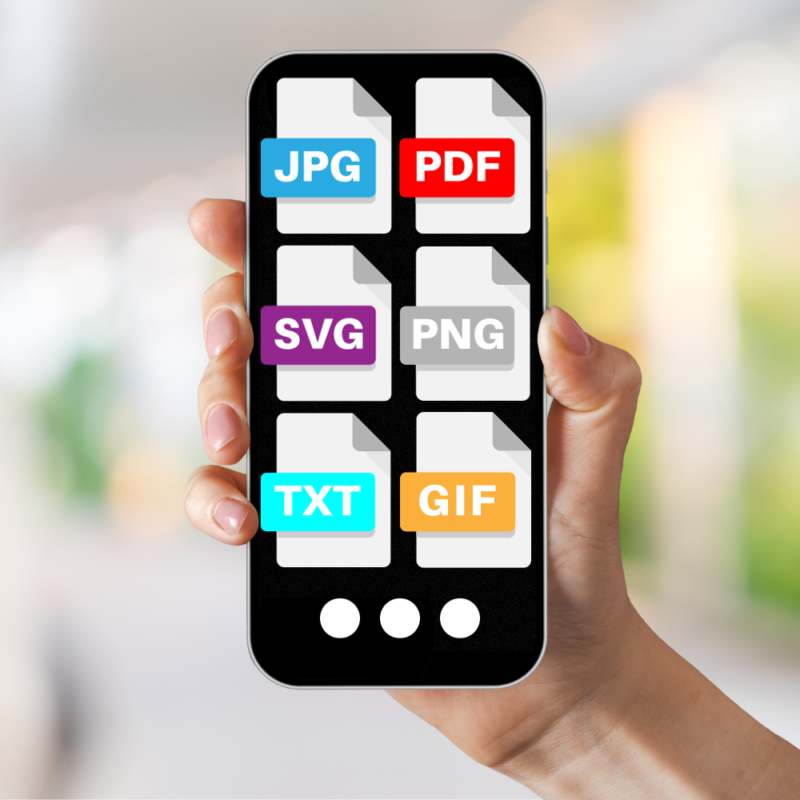
Once you've completely finished it's important to make sure you save your image. Click on the file button on the top left of the screen and press the ‘Save As’ button. Choose a format that suits your needs – JPEG for online use, PNG for transparent backgrounds, or even consider saving it as a Photoshop document (PSD) to retain all your layers for future editing.